Digital Manual
1. Download the Halonix One App from the Google Play Store or App Store.

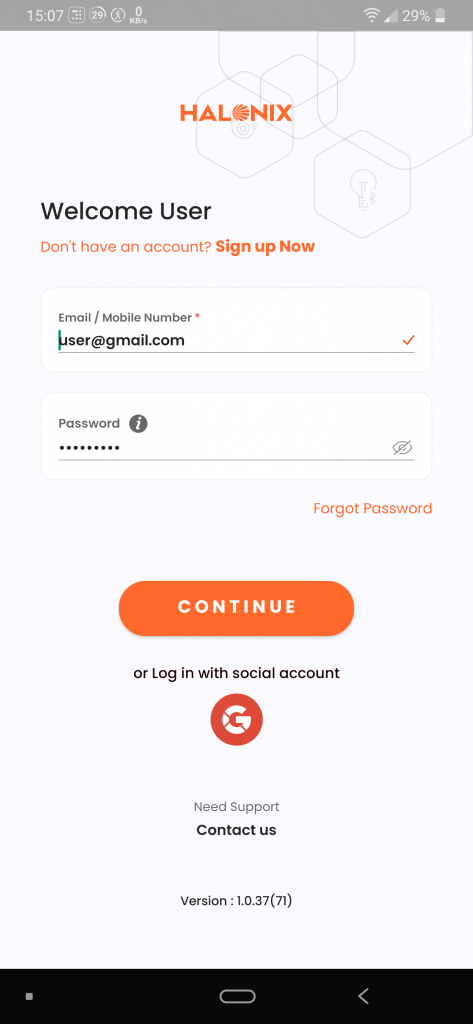
2. For existing users login with your registered email ID/ mobile number and password, For new users create an account using your email ID or mobile number and select a password of your choice.
![]()
3. Switch ON the device, and the device will start blinking (When the device blinks it means the device is in pairing mode). If it doesn’t blink, switch it OFF and ON 5 times with a 2-second gap between every toggle. When you switch it ON after toggle 5 times the device will start blinking.
4. After logging into the app, select the type of device that you would like to add. If the product you wish to add is Wi-Fi-based, select “Wi-Fi,” in case the product you want to add is Bluetooth-based, select “Bluetooth.” If you are not aware of the product type, select “Don’t Know.”
![]()
5. When you start searching for a device list of nearby devices will appear. ( For Wi-Fi devices, tap on the device and enter the Wi-Fi name and password on the next screen, For Bluetooth devices, tap on the device name, and the device will get paired.)
![]()
6. When the device starts pairing the device brightness will change in breathing pattern indicating successful pairing of the device. After successfully pairing, you can do the following on the devices.
● Control Color, CCT and brightness using the device dashboard.
● Activate different predefined scenes.
● Create a schedule to set the device to a particular state at a given time.
● Create a group of multiple devices to control simultaneously.
![]()
7. You can create different rooms, and place your device in that particular room for better device management. Create a room by clicking the “+” sign on the dashboard. (Multiple lights can be part of a room and can be controlled simultaneously.)
8. Enter the name of your desired room, select the appropriate room type and create the room.
![]()
9. The Halonix One App also supports the scheduled control of all of your devices. To do this, tap on the “+” icon on the home page and tap on “Add New Schedule”. You can also set a schedule from more section within the app.
10. On the next screen, enter your schedule’s name, for example, “Turn all lights ON”. Set the time when you want the schedule to be activated. Also, select the devices that need to run in your preferred schedule.
![]()
Enabling Halonix One Skill
To be able to control the lights of the Alexa smart speaker, you need to enable the Halonix One Skill. To Enable the Halonix One skill follow these steps.
1. Open the Halonix One App and login with your Halonix one account credentials.
2. Go to More section on the Halonix one app and tap on Alexa logo under Third party
services.
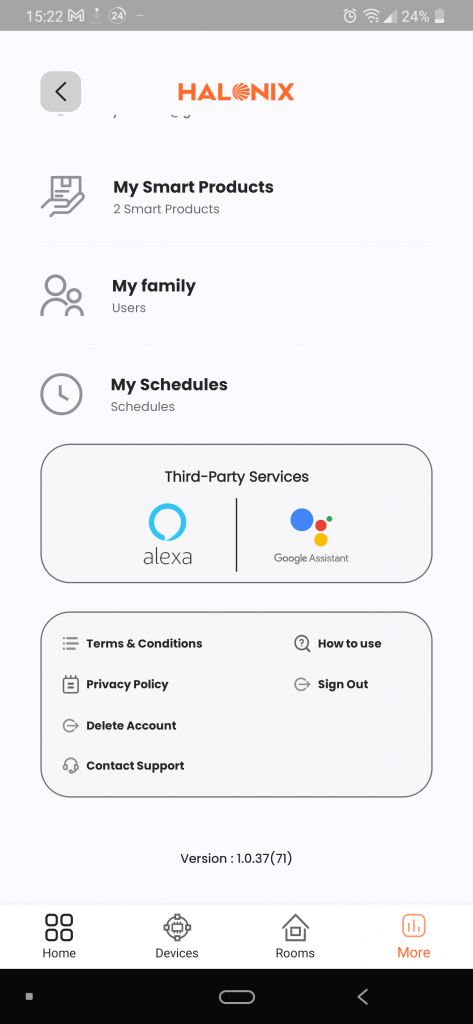
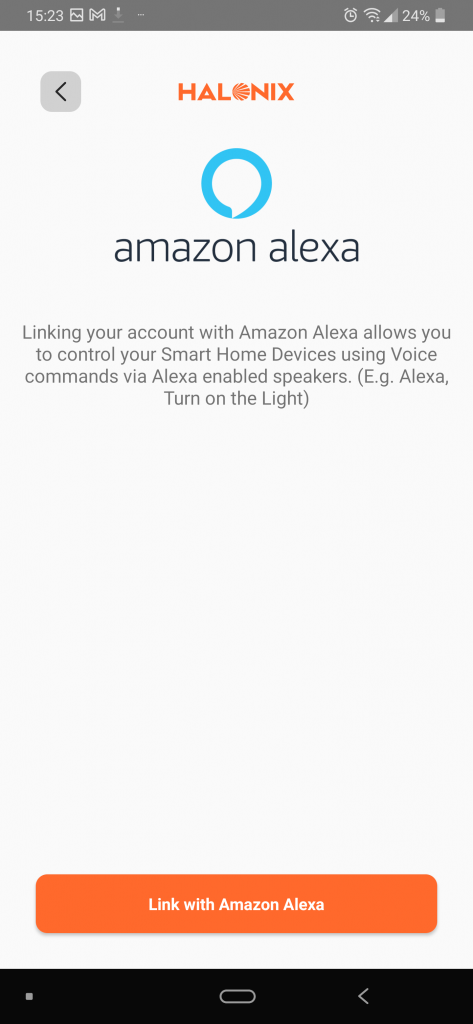
3. App will ask for account linking with amazon alexa. Tap on “Link with Amazon Alexa”.
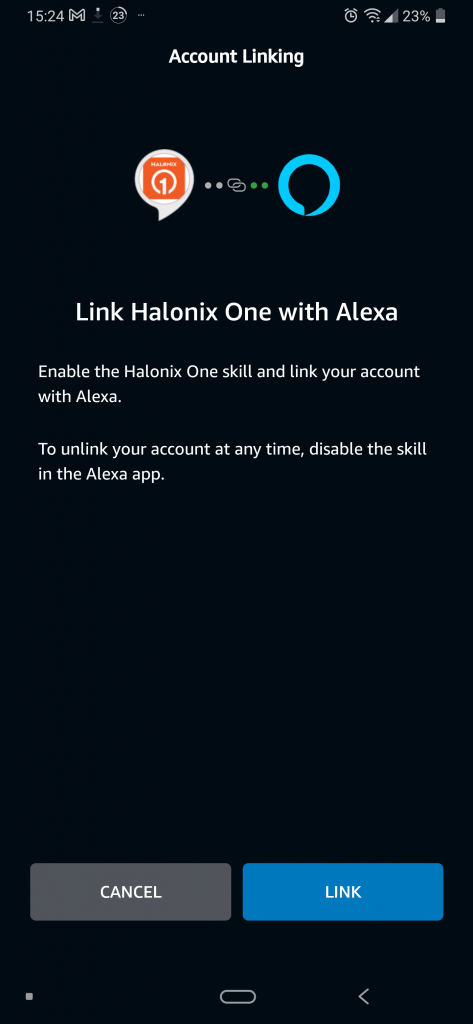
4. The app will redirect to Amazon alexa app, and tap on “LINK” to continue with account linking process.
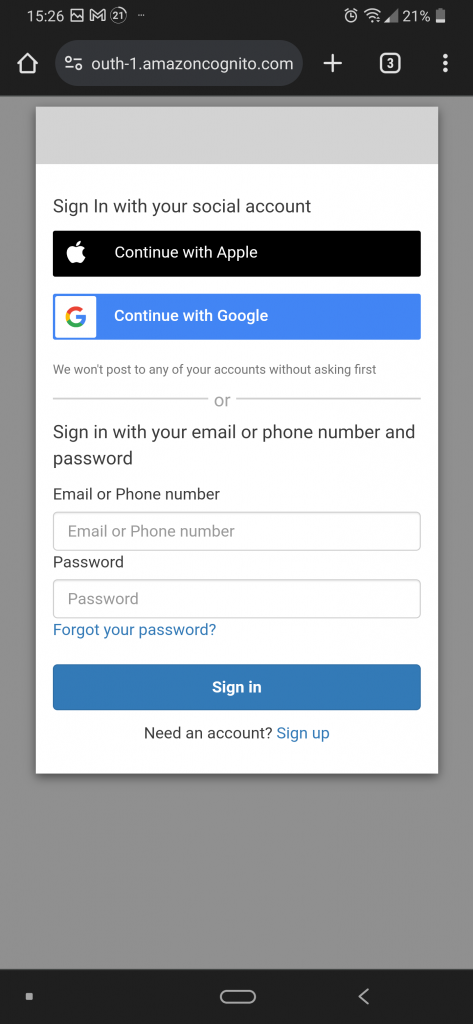
5. A webpage will open in your phone default browser. Enter your Halonix one account credentials.
6. On this page and tap on “Sign In”. if your account was created using mobile number, make sure to add the country code +91 before the 10 digit mobile number.
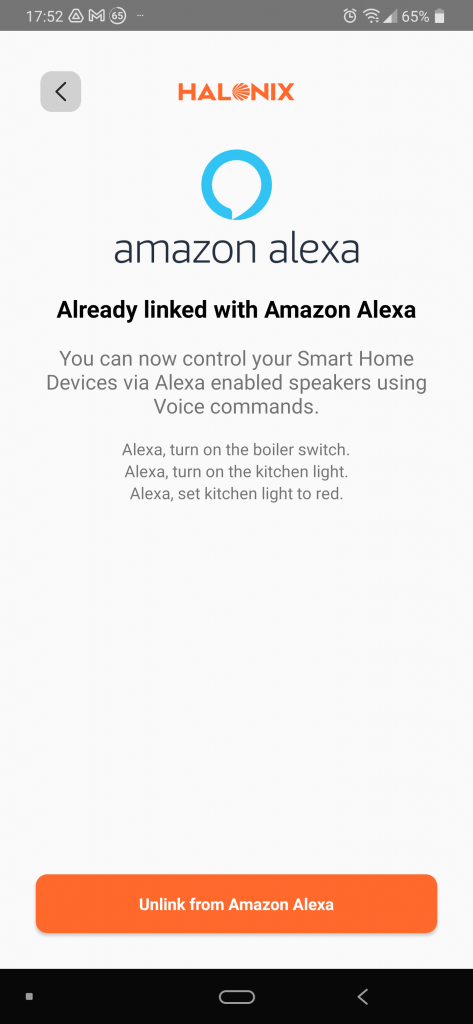
7. Once the login is complete, the Halonix One app will open and will show the status that “Account is now linked with Amazon Alexa”.
8. While setting up the account linking as per above procedure, if you do not get redirected to webpage as mentioned in step 4, remove cookies from your default browser on app and try again from step 1.
9. Alexa will automatically search for all the devices that are present on your Halonix One account including Alexa smart Speaker.
10. Now Control you Halonix One smart devices via alexa Smart speaker by saying “alexa, Turn off alexa smart speaker”. This command will turn off the LED lights built in to the bulb.
Setting Up Default Music service and News service (Only for Halonix Alexa Smart Speaker Bulb)
To setup the default music service provider on your alexa smart speaker, follow these steps.
1. Open alexa mobile app, and login with your amazon account if not already logged in to the app.
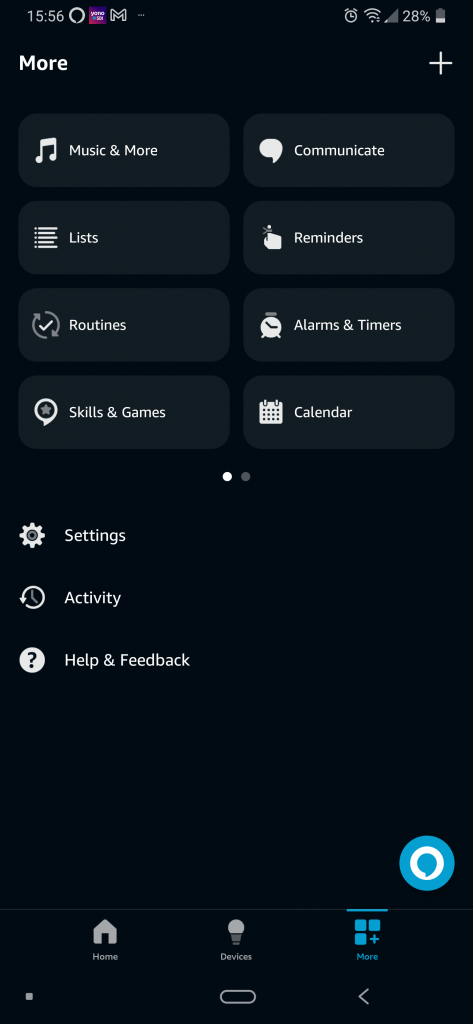
2. Navigate to “More” section. Here you will find option of “Settings”. Tap on “Settings”.
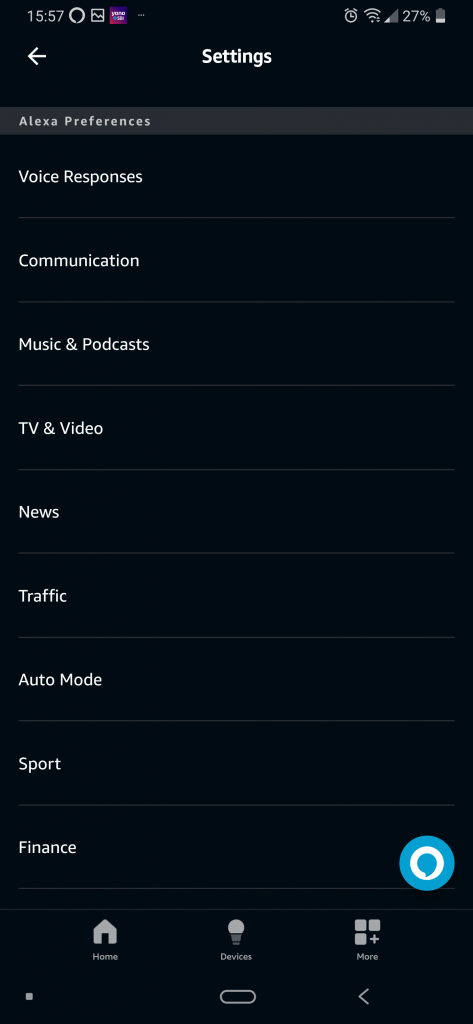
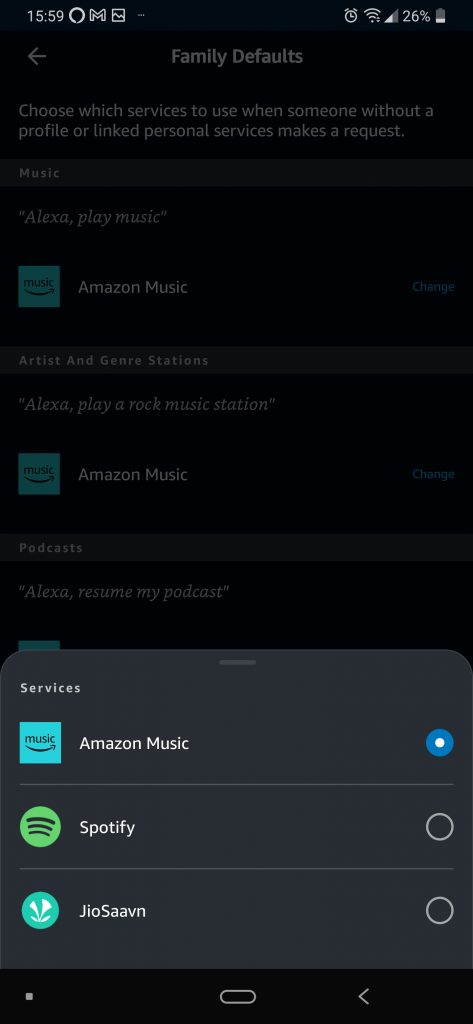
3. Under alexa preferences, tap on “Music and Podcasts”.
4. Here you will find the supported music streaming services like “Amazon Music”,
“Spotify”, “JioSaavn” etc. Select Amazon Music OR JioSaavn as your preferred music
streaming service.
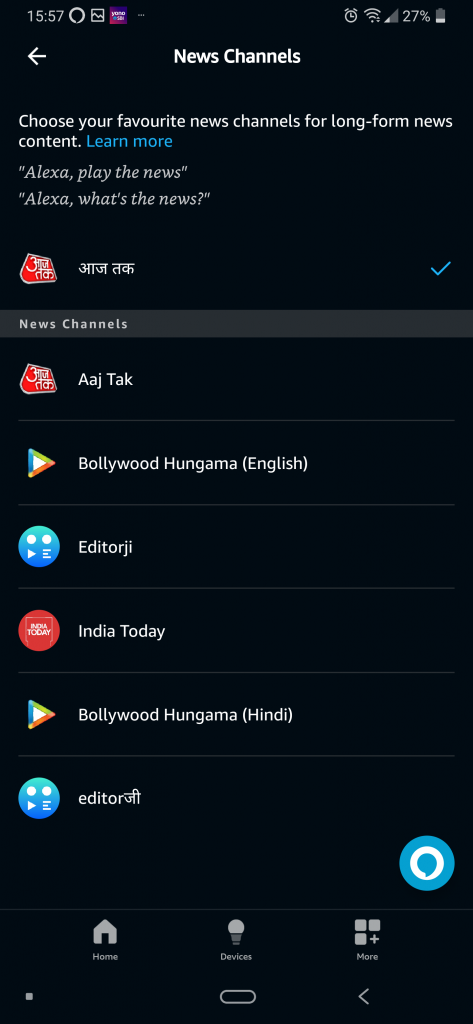
5. Similarly, under alexa preferences, there is option of “News”. Tap on “News”.
6. Under “My News channel” and “Flash Briefing”, choose your preferred news service. Some of the available news services are AajTak, India today, Bollywood Hungama etc.
Note: Alexa Smart speaker supports Amazon Music and JioSaavn as music streaming
service. For music playback via Amazon Music, prime subscription is mandatory on the
amazon account in which the alexa smart speaker is added.